
- Iliacus. You will get your best release with this muscle if you massage it by hand. It’s pretty easy to locate and work on, so don’t stress. Find your hip bones and walk your hands just inside. Rub back and forth slowly for a couple minutes. Do this on both sides.
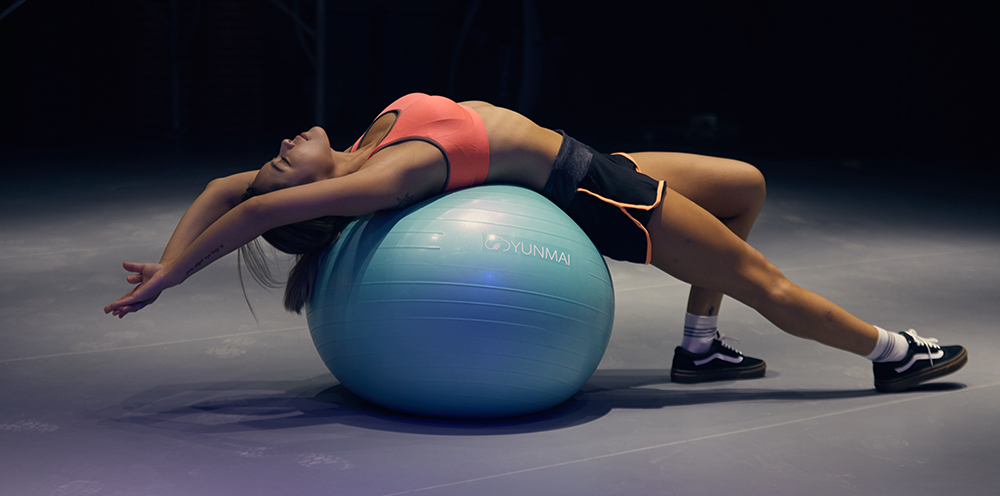
- Tensor Fascia Lata. You should grab a ball for this and find an open wall space. Lean your body weight against the ball and wall. This muscle is located on the outside of your hip bones in the front.
- Rectus Femoris. This is the main muscle of your quadriceps. Get yourself into a kneeling position on the floor. I find it best to lean up against a wall for balancing support. Lunge one leg forward at ninety degrees. If you want to increase your stretch then grab your back leg and pull the foot up toward your hips.
- Quadratus Lumborum. Now we finally come to your main lower back muscle which causes most of the trouble. You can sit on the floor and side stretch this muscle very easily. Or you can roll with a ball against the wall. Both work great.
Remember. Do these for a couple minutes.
Now you don’t have to do all of them in one day. I would recommend you try one muscle and do it on both sides. Then the next day, try another muscle.
So the first time you try releasing these muscles you might start with the Iliacus. Then on the next day you can try the Tensor Fascia Lata, then the Rectus Femoris and then the Quadratus Lumborum.
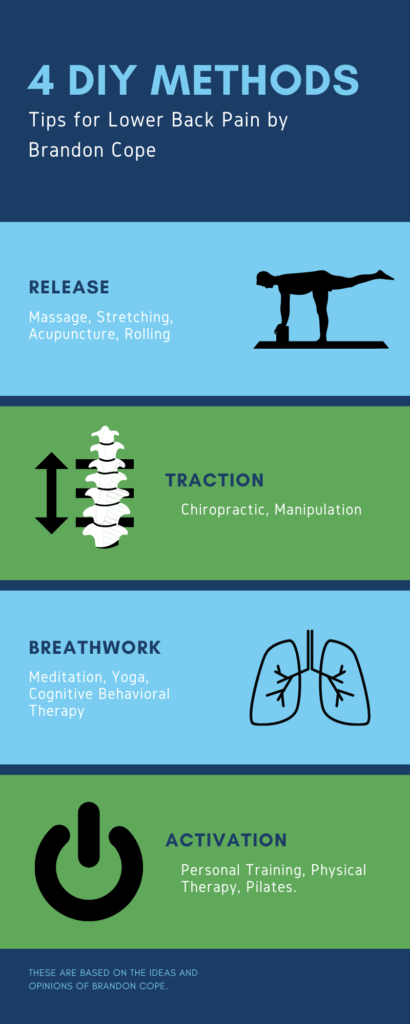
Once you have released your muscles you can start traction.
Traction
If you have been to a chiropractor and gotten an adjustment. These feel great and I recommend you keep doing them. But traction is a little different from an adjustment. I specify this because people get confused about “decompression” and “traction.” They are similar concepts and end results, only with different approaches to reaching the goal.
An adjustment is typically the fast crack of the spine from a high velocity thrust. This opens space between the spinal bones and feels great.
Traction is the crock pot version. Slowly pulling the bones apart to open space. I prefer the traction method myself. It’s also easier to do yourself.
The popular device you may have seen for traction are those inversion tables. Which look like a medieval tourture tool.
I have a few problems with those tables and would only recommend the ones with advanced features. Which usually cost around $500. Maybe I’ll write more about those devices another time.
For now I’ll tell you about some down and dirty techniques which you can do at home today.
Try these for around 1-2 minutes each. You can traction your spine for too long, so it’s better to start with shorter times until you get used to the feel of it.
Just like the release work. Try one traction method for a day and then do the others on other days. Right after you release a muscle, do some traction next.
- Rag Doll. Stand wide and bend over like you are touching the ground. Relax your arms by dropping them to the floor or holding them crossed. Keep your legs engaged and you relax your upper body and lower back area.
- Legs Up. Simply lay flat on your back. Then take a chair, couch or maybe a box, (I’ll use a box for my example) put both feet up on the box. Rest your lower legs on the box so the calf muscles are flat on the box. Now scutch your upper body back away from the box, this will cause a small decompression in the lumbar spine.
- Bed Face-Plant. Lay face down on top of your bed. Then crawl yourself to the edge of the bed so your head just hangs off the side. Brace your head with your hands. Place your hands on your forehead and actively tuck in the chin. You can relax your arms if you brace them against the side of your bed. This shares traction with the lumbar and cervical spine.
- Hip Push. Lay on your floor face up. Bend your knees up and out. Making a butterfly looking shape. Keep your feet together as much as possible. Next place your hands on your upper thighs and push with strength down toward your feet. You should feel the traction rather quickly. I only recommend this technique if you have the upper body endurance to hold the traction for about two minutes.
After you have experimented with the traction it’s time to move into breathing.
Breathing
Take a long, slow breath in and out. Do it again.
What do you notice about your body when you breathe?
It moves right? Particularly your spine moves.
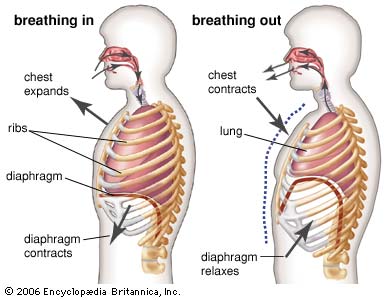
As you inhale, your body will expand your rib cage to open more space for your lungs. This will cause small and subtle movements within your spine which usually help to decrease pain.
The two important breathing techniques which I will show you are direction and pace.
Direction is the movement of your expansion. Which part of your rib cage is locked up and unable to expand when you breathe?
Think of your torso in four parts or sides. Front, left, right and back. Each area needs to be opened and expanded with breathing. This really helps your spine.
As you take slow breaths I want you to shift through these four positions for about a minute each.
Front breathing is easiest in a cobra position on the floor, or you could lay on your back with arch support. The point to make your front torso open up for breathing expansion.
Side breathing can be done with a seated side bend.
Back breathing can be done kneeling or in childs pose.
You can move through all four of these expansion positions and breathing each day you do your self care. You don’t have to do one side more unless you feel it needs more.
Once you have finished opening your breathing expansion space in your torso then go ahead and start activating.
This next part about pace is something you will need to learn about and do throughout the entire self care process. Not just at one specific moment.
Pace is the timing of each breath.
Slow or fast. You can control the pace of each inhale and exhale. While you are going through this four step process of self care I want you to focus on taking slow breaths. Preferably 6 seconds in and 6 seconds out.
When you slow down your pace it slows down your heart rate and nervous system.
When you speed up your pace it speeds up your heart rate and nervous system.
6 seconds is a nice steady pace which calms the body and helps you focus on each task.
Now with breathing expansion and pace done we need to activate.
Activation
Turning a muscle on and off. Firing the neurons.
These are some of the important functions which occur during an “activation.” It’s not hypertrophy. Muscle growth is not enough to fix muscle imbalance and lower back pain. You need to change the neurology as well.
Muscles activate at many different levels. At high levels of activation the muscle contracts with power and force to move heavy objects. More motor neurons fire and more muscle fibers contract.
But during higher levels of muscle activation you lose isolation. If you do a bicep curl with max weight. You won’t only be activating your bicep muscle. You need synergists. With a maximum level of muscle effort you will be activating brachialis, anterior deltoid. pectoralis and rotator cuff muscle.You might start breath holding because of the intensity too.
The problem with so many muscles activating is you can’t control which muscle you are using.
Lower level activation allows for more focus on a specific muscle contraction.
So we will be focusing on tiny little contractions with as much isolation to a specific muscle as we can.
It’s time to activate.
Some of the main muscles which usually need activation are,
- Psoas
- Gluteus Maximus
- Quadratus Lumborum
- Transverse Abdominis
How do we activate these? Let me show you.
For each activation you will hold a position and create a low force of muscle contraction. Hold the contraction for the duration of your inhale breath, about 6 seconds. Then relax the contraction during your exhale breath, about 6 seconds.
Psoas. This is a very controversial muscle. It often gets blamed for lower back pain and many practitioners suggest to release it. I however have found this muscle to frequently be underactive and in major need of more activation.
If you think you are different and need to release this muscle then go ahead. You know your body best. But based on the majority of my findings I’ll be showing you activations for the psoas.
Lay face up on your back. Bring up one knee toward your chest. Rotate the knee to point outward, so your foot comes to your midline. Take your opposite hand and push your knee and hand together. Do this for a steady breath of about 6 seconds inhaling, then relax the muscle while maintaining the position as you exhale for another 6 seconds.